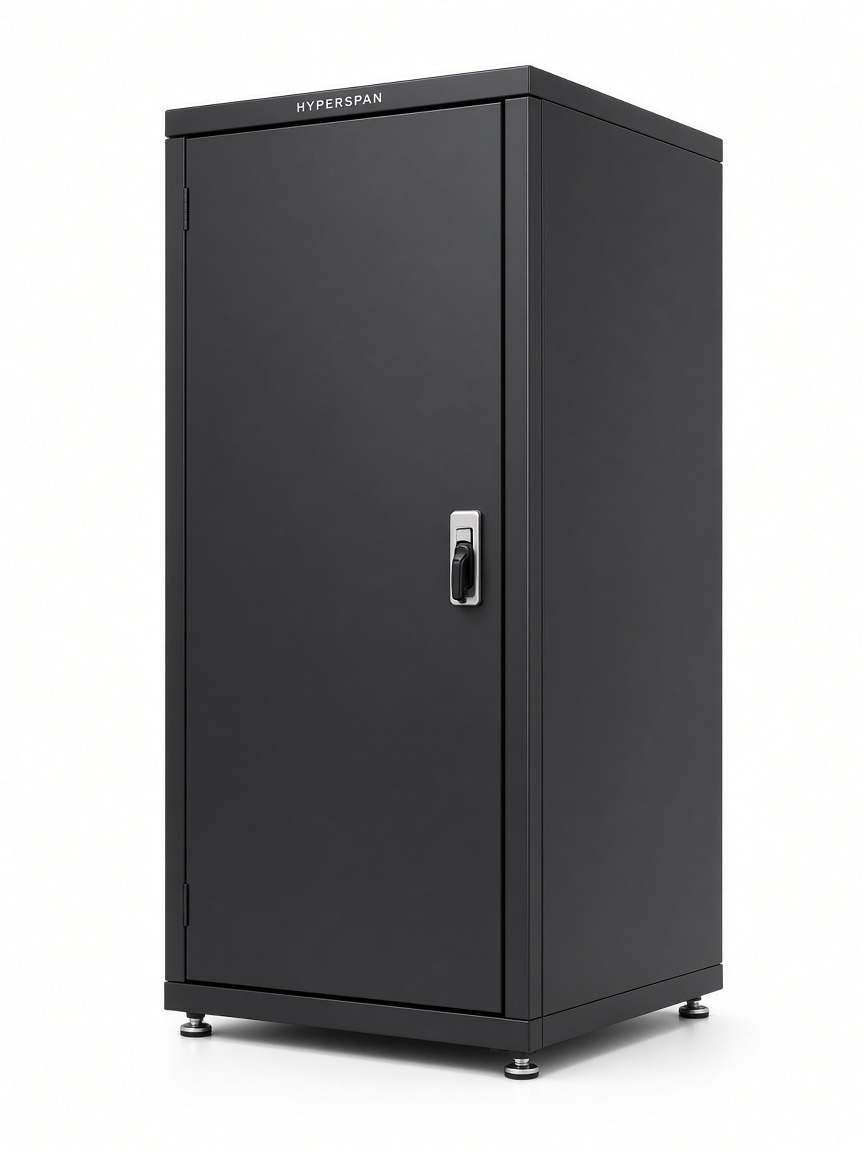
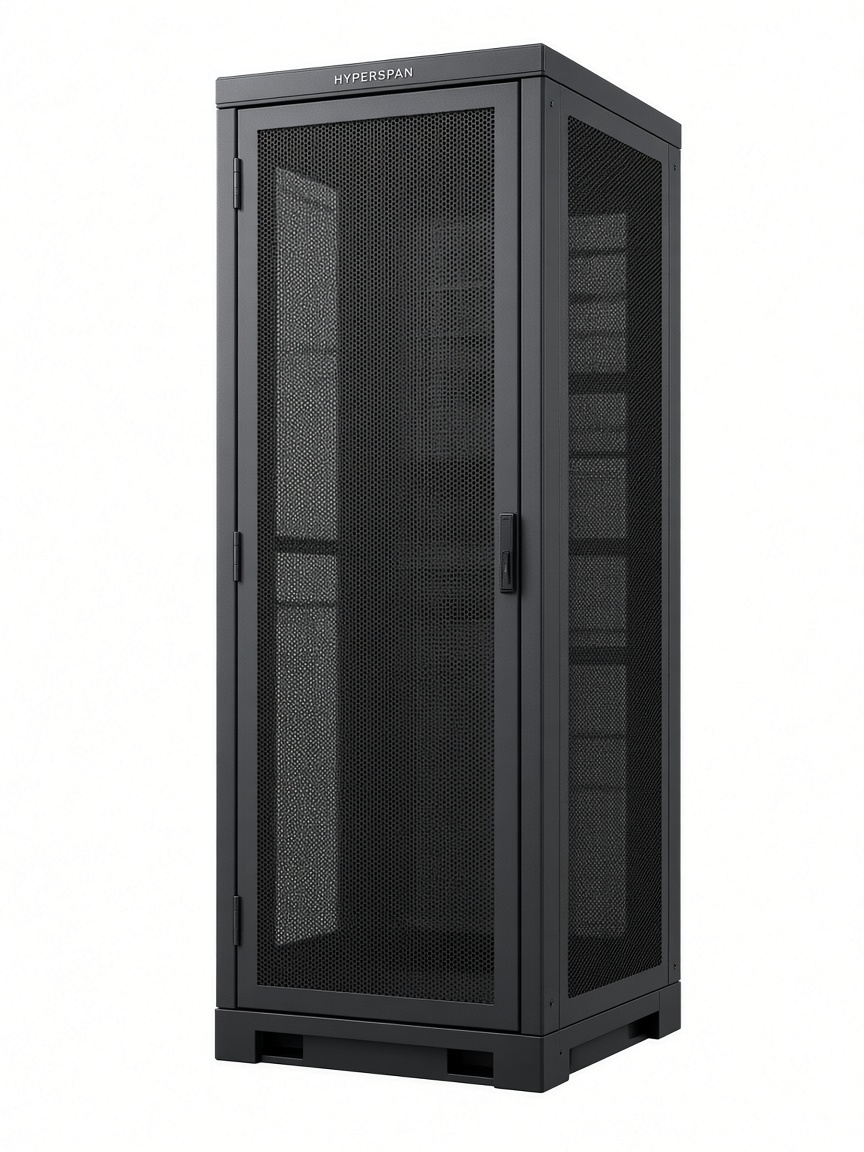
Product photography is Hyperspan Rack™ / Power™ studio imagery matched to this cabinet, PDU or accessory family.
HSP-RACK-DC-52U-80120
Data Centre Cabinet 52U 800 × 1200 mm
HSP-RACK-DC-52U-80120 is a 52U Hyperspan Rack data centre cabinet. The footprint is 800 × 1200 mm. The published static load is 1500 kg. The doors are perforated mesh. 19-inch EIA-310 rails, numbered in U, are fitted front and rear. The doors lock, the side panels come off, and the roof has a brush cable entry. It is supplied flat-packed for assembly on site. Baying is supported, and the baying kit is ordered as an accessory. Typical use: Maximum U-count halls. Specify it with Power PDUs, Rack panels and Hyperband fibre as a Hyper House bill of materials.
Key features
- 52U of 19-inch mounting
- 800 × 1200 mm footprint
- 1500 kg static load
- Perforated mesh doors
- Numbered EIA-310 rails, front and rear
- Lockable doors and removable side panels
- Roof brush cable entry
- Black powder-coated steel
- Supplied flat-packed for site assembly
- Baying supported. Order the baying kit separately.
Technical data
- Product code
- HSP-RACK-DC-52U-80120
- Cabinet
- Data centre
- Rack units
- 52U
- Footprint
- 800 × 1200 mm
- Width
- 800 mm
- Depth
- 1200 mm
- Static load
- 1500 kg static
- Mounting
- 19-inch EIA-310
- Rails
- Front and rear, numbered in U
- Doors
- Perforated mesh
- Side panels
- Removable
- Roof
- Brush cable entry
- Material
- Steel
- Finish
- Black powder coat
- Supply
- Flat-packed
- Baying
- Supported. Order the baying kit separately.
- Application
- Maximum U-count halls
- Warranty
- Product warranty; 25-Year System Warranty applies to qualifying registered Hyperspan channels
Saved to your BOM on this device. Partner login to keep it as your order basket and export a PDF.
Documents are generated in the same branded PDF style as other Hyperspan downloads. Confirm certified DoP / CoC revisions with Hyperspan Technical Support for live projects and regulatory submission.
Flat-pack build
How this cabinet goes together
It is supplied flat-packed for assembly on site. The numbered drawing matches the parts in the pack and the assembly manual.
Parts
- 1BaseBottom frame. The cabinet stands on this.
- 2UprightsFour corner posts. U numbers face into the rack.
- 3Top frameCloses the top of the posts and carries the roof.
- 4Front 19-inch railsEIA-310 pair. Equipment fixes here.
- 5Rear 19-inch railsEIA-310 pair, set to the same depth as the front.
- 6Side panelsLeft and right. They lift off for service.
- 7Front doorPerforated mesh leaf.
- 8Rear doorPerforated mesh leaf.
- 9RoofRoof panel with the brush cable entry.
Build sequence
- 1.Unpack and check every part against the numbered list before you fit anything.
- 2.Place the base (1) on a level floor.
- 3.Stand the uprights (2) on the base and fasten them finger-tight.
- 4.Fit the top frame (3). Tighten the frame only once the diagonals match.
- 5.Fit the front rails (4) and the rear rails (5) to the depth the equipment needs. Keep the two pairs square. Follow the U numbers on the rails.
- 6.Hang the side panels (6) and the rear door (8). Check that the door closes and locks.
- 7.Hang the front door (7). The leaves on this cabinet are perforated mesh.
- 8.Fit the roof (9) and seat the brush so cable does not sit on a bare steel edge.
- 9.Move the empty cabinet into place with two people. Bond the earth. Fit a baying kit, plinth or castors only when that accessory was ordered. Load equipment from the bottom.
Before you start
- Use two people. A tall cabinet or frame is not a one-person lift.
- Wear gloves. Flat-pack steel edges are sharp.
- Assemble on a level floor, with room to square the frame.
- Leave the frame fixings finger-tight until the diagonals match, then tighten.
- Do not load equipment until the rails are fitted and the cabinet is in its final position.
- A published static load is a standing load. Do not roll a loaded cabinet.
- Bond the frame to earth before any PDU or active equipment is energised. The earth bonding kit is a separate accessory.
- Baying kits, plinths, castors, fan trays, blanking panels and M6 cage nuts are ordered separately.