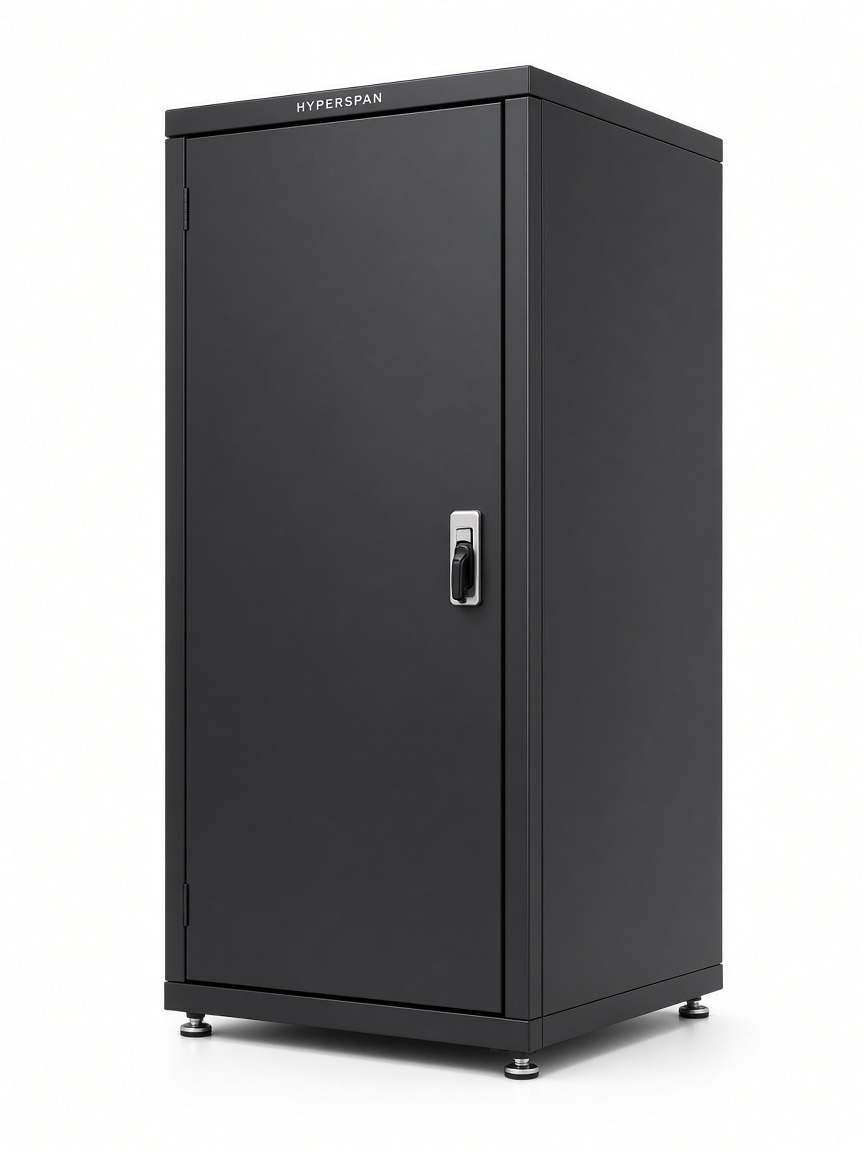
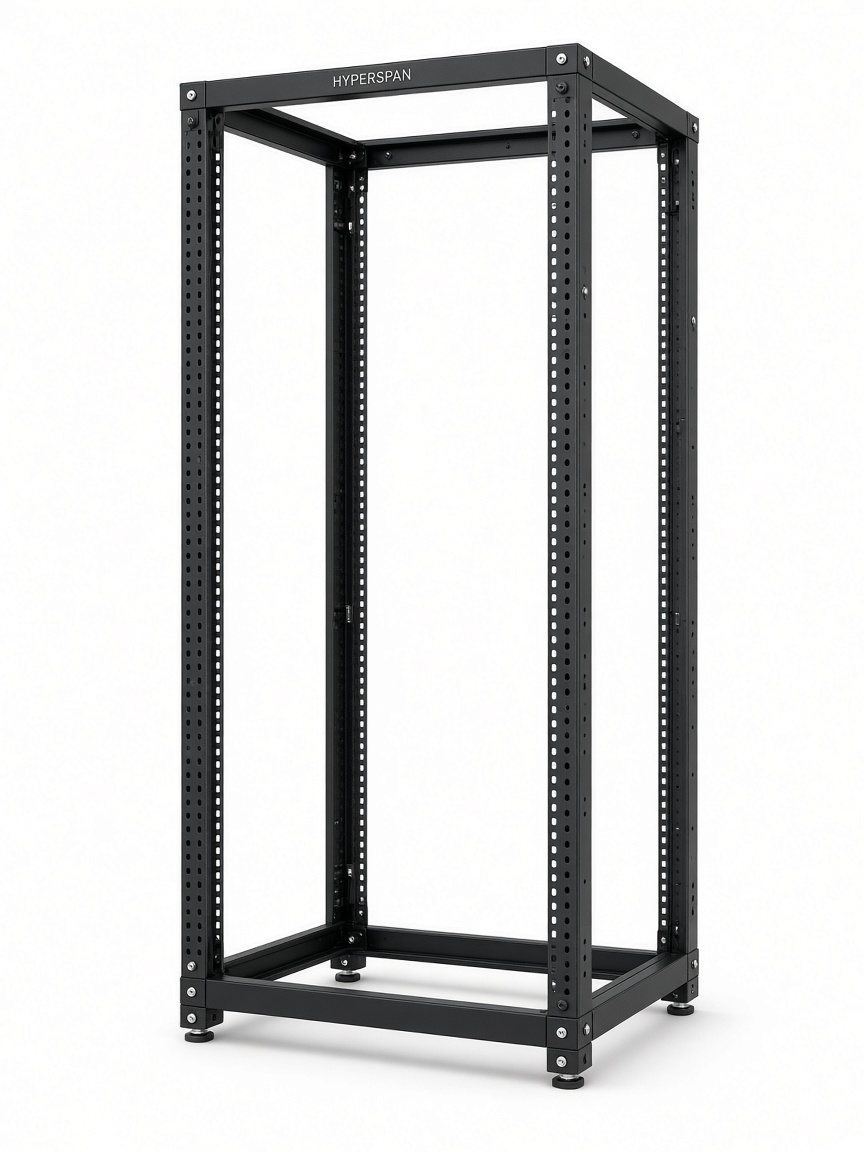
Product photography is Hyperspan Rack™ / Power™ studio imagery matched to this cabinet, PDU or accessory family.
HSP-RACK-OF-4P-47U
Open Frame 4-Post 47U
HSP-RACK-OF-4P-47U is a 47U Hyperspan Rack open frame. It is a 4-post frame. There are no doors or side panels. 19-inch EIA-310 rails, numbered in U, are fitted front and rear. It is supplied flat-packed for assembly on site. Typical use: Tall staging / lab racks. Anchor the frame to the floor before it is loaded.
Key features
- 47U of 19-inch mounting
- 4-post open frame
- Numbered EIA-310 rails, front and rear
- Black powder-coated steel
- Supplied flat-packed for site assembly
Technical data
- Product code
- HSP-RACK-OF-4P-47U
- Cabinet
- Open frame
- Rack units
- 47U
- Frame
- 4-post
- Mounting
- 19-inch EIA-310
- Rails
- Front and rear, numbered in U
- Material
- Steel
- Finish
- Black powder coat
- Supply
- Flat-packed
- Application
- Tall staging / lab racks
- Warranty
- Product warranty; 25-Year System Warranty applies to qualifying registered Hyperspan channels
Saved to your BOM on this device. Partner login to keep it as your order basket and export a PDF.
Documents are generated in the same branded PDF style as other Hyperspan downloads. Confirm certified DoP / CoC revisions with Hyperspan Technical Support for live projects and regulatory submission.
Flat-pack build
How this cabinet goes together
It is supplied flat-packed for assembly on site. The numbered drawing matches the parts in the pack and the assembly manual.
Parts
- 1BaseFloor member. Anchor this before the frame is loaded.
- 2Front postsFront pair of uprights.
- 3Rear postsRear pair of uprights.
- 4Top frameJoins the posts and squares the frame.
- 5Front 19-inch railsEIA-310 pair on the front posts.
- 6Rear 19-inch railsEIA-310 pair on the rear posts.
Build sequence
- 1.Unpack and check the base (1), front posts (2), rear posts (3), top frame (4) and both rail pairs (5 and 6).
- 2.Fix the front and rear posts to the base.
- 3.Fit the top frame and square the diagonals before you tighten it.
- 4.Fit the front rails and the rear rails to the same equipment depth.
- 5.Anchor the frame to the floor, then load the equipment. This frame has no doors or side panels.
Before you start
- Use two people. A tall cabinet or frame is not a one-person lift.
- Wear gloves. Flat-pack steel edges are sharp.
- Assemble on a level floor, with room to square the frame.
- Leave the frame fixings finger-tight until the diagonals match, then tighten.
- Do not load equipment until the rails are fitted and the cabinet is in its final position.
- A published static load is a standing load. Do not roll a loaded cabinet.
- Bond the frame to earth before any PDU or active equipment is energised. The earth bonding kit is a separate accessory.
- Baying kits, plinths, castors, fan trays, blanking panels and M6 cage nuts are ordered separately.